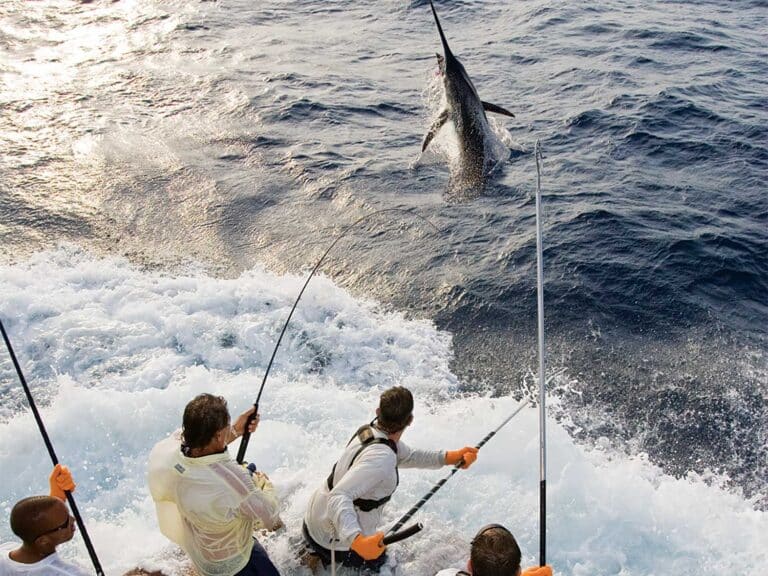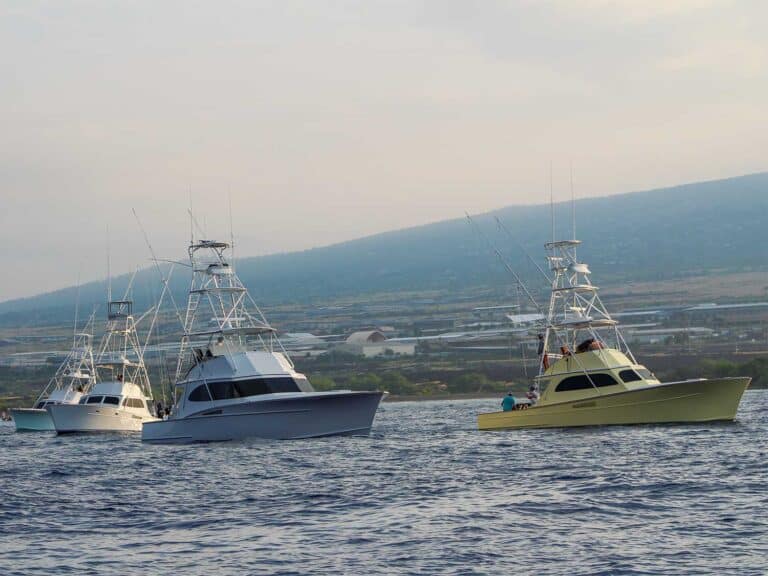
It might be safe to say that trolling lures for blue marlin in the calm and tranquil waters off the Kona, Hawaii, coast is as good as it gets. With three towering volcanoes setting the backdrop, the sun breaking over Hualapai is a visual you never forget, and it only ramps up the anticipation of what the day holds as the lures go over the transom. It’s a ritual those who fish in Kona know well, and we rarely take it for granted.
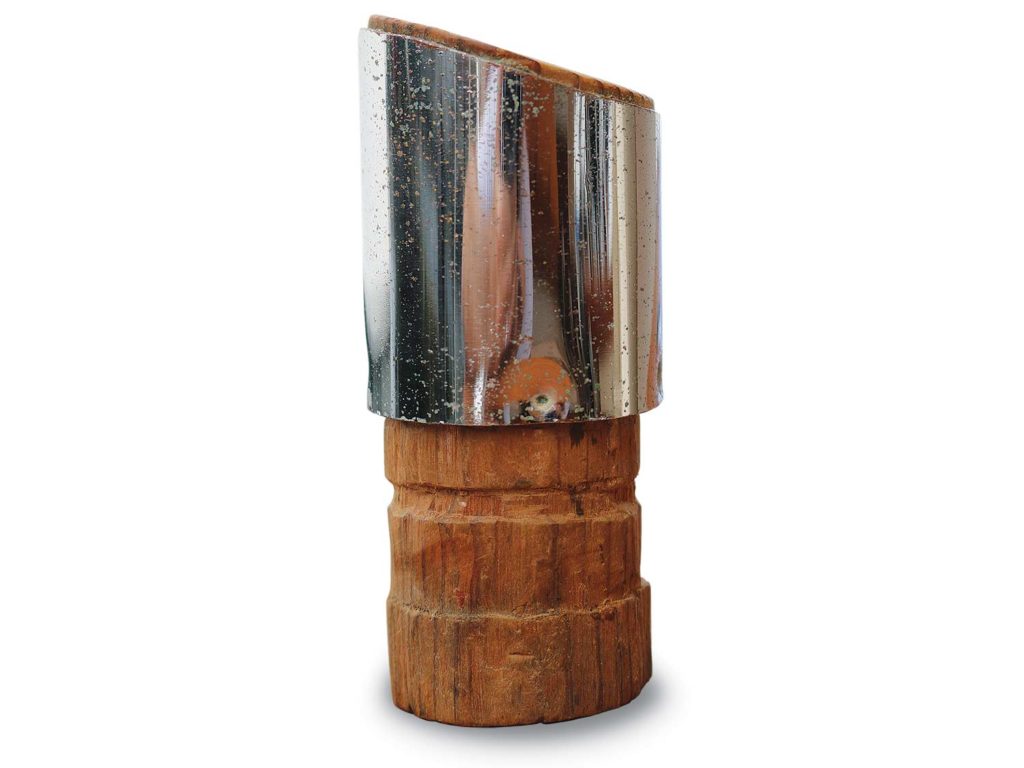
Some of the first artificial lures meant to capture the attention of the billfish we seek were simple prototypes crafted from wood with the intent to be trolled at greater speeds than natural bait. The first blue marlin over 1,000 pounds landed in Hawaiian waters in November 1954 aboard the 47-foot Hawaiian sampan Mona H was caught on a handcrafted wooden lure perfected by Capt. George Parker.
Around the same time, polyester resin became available, and Capt. Henry Chee unleashed its grand potential for catching Kona blues. Around 1949, Chee experimented molding glass drinkware from the Kona Inn and tested his creations on board the 36-foot Hawaiian sampan Malia. Chee’s lures soon became a hot item for the marlin fleet, and for good reason: They caught fish.
Watch: Learn to rig a swimming Spanish mackerel here.
Selection
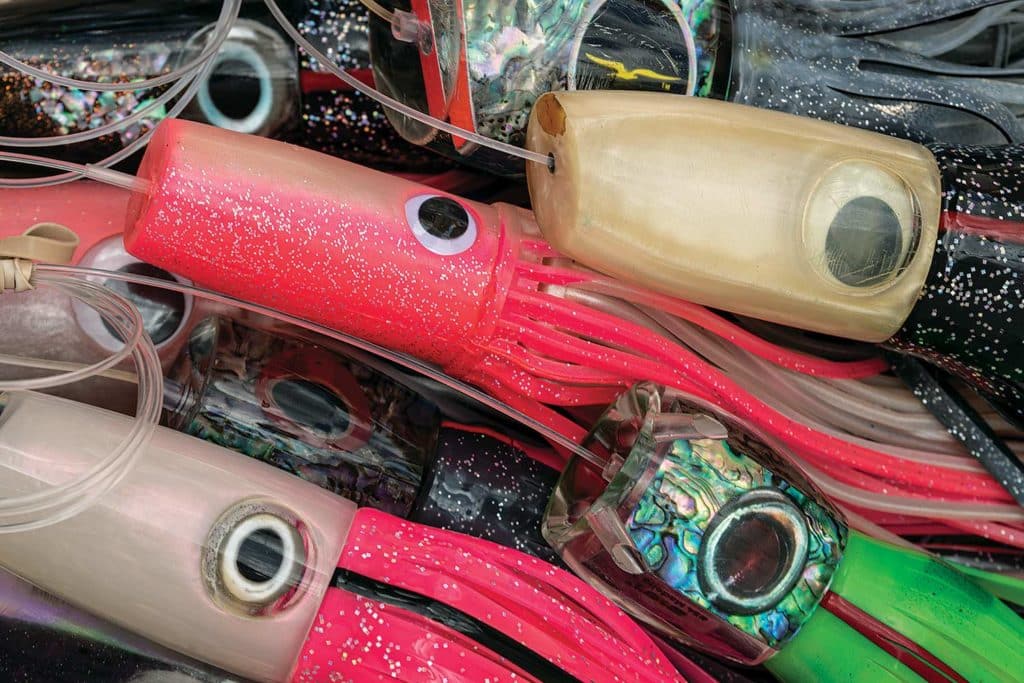
On board the 46-foot Gamefisherman Bwana, I like to handpick my lures, checking for symmetry, centered tubing, and face uniformity. After that, I just go with my gut, and because custom lures are handcrafted, these points are the basic variables that I use when choosing them; the quality crafters definitely stand out.
Selecting our lure pattern for a fishing day consists of more than just pulling them out of the bag. I will consider the current sea conditions and targeted species first. I prefer to be prepared for anything, so a mix of larger lures on the corners and medium to small bullet-style lures for the riggers is my go-to. We combine different shades of colors such as blue, green, black, purple and pink, all of which are good combinations for Kona fishing. I also think about matching one of the natural food sources that is prevalent to give the fish options. Once I find a combination I like, I stick to it. This allows me to focus on finding the fish.
The Sweet Spot
Since grander blue marlin have been caught in every month over the years, we prefer to have the heavy gear out in Kona. Reels are spooled to the brim with hollow-core Spectra backing, a 130-pound-test top shot, and finished with a short Bimini twist and a top-quality ball-bearing swivel. Big fish will test your equipment to the limit, and great attention is given to every possible link, leaving nothing to chance.
When setting our trolling speed, I pay attention to how the boat sounds and how it feels. I’m a big believer in finding your boat’s sweet spot in relation to the engine’s tone and vibrations. This varies from boat to boat, and it might take years before you find it, and sometimes that tenth of a revolution makes all the difference. As a general rule, maintain an average speed between 7.5 and 9.5 knots when trolling lures.
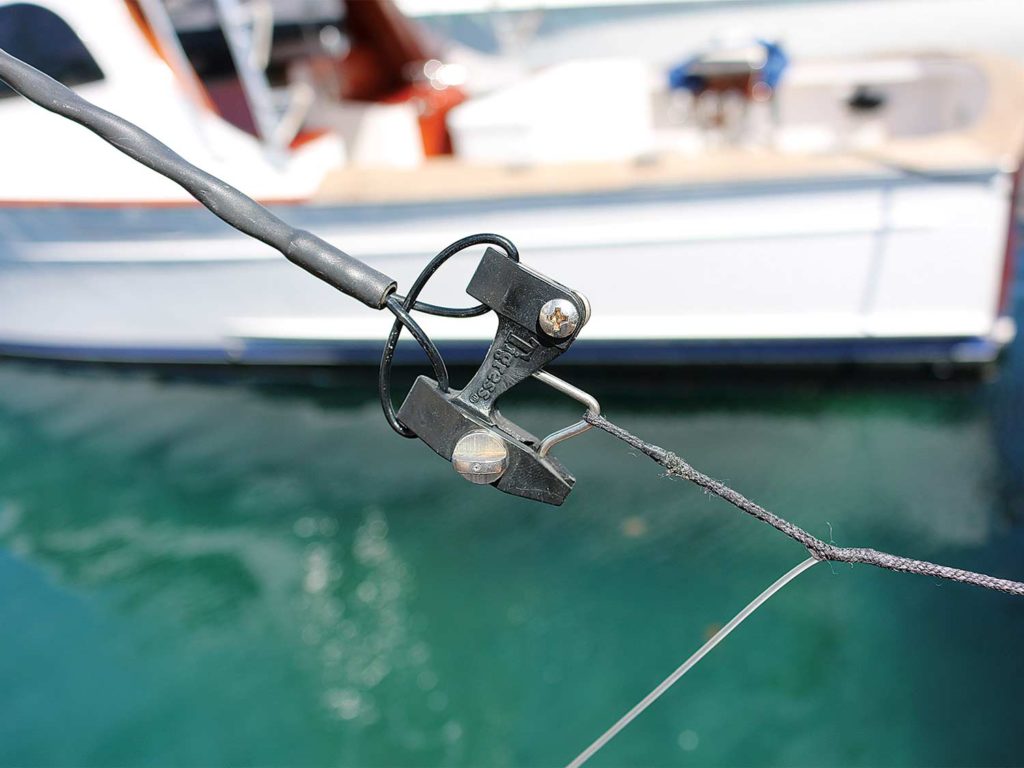
We set our lure pattern using the boat’s wake—or waves—off the transom as a guide for gauging distance. Staggering the lures on a wave face begins with the short corner on the third wave and finishes with the stinger—or the shotgun—on the seventh or eighth wave. We use spliced Dacron loops on the main line to set these distances, and each rod is numbered to designate its position accordingly. We then set each lure in position by using the loop in the adjustable clip at the end of the tag line from the outriggers.
Clip tension is set by feel: tight enough to keep the lure pinned in any condition, but able to release with a decent tug. Having a spliced loop on the main line allows you to make quick and easy adjustments to the lure’s position on its wave by simply sliding the loop up toward the reel to let it out, or down the main line toward the lure to shorten it up. Boat speed and sea conditions will have you adjusting your lures from time to time in order to keep them working best in their own sweet spots.
Head Shapes and Hooks
Understanding how different lure shapes respond to water conditions and speed will certainly improve your results. Select lures that will stay in the water, continue to smoke and pop, and won’t go lazy on you and wallow. Each lure in the spread must be active, or fishing the way it’s meant to perform. For example, plunger-style and slant-headed lures should have a continuous bubble trail and splash consistently, so if I see one stop performing, there might be a few things I’ll try before I bench it. Sometimes just a little attention to detail can change a lure from being a dud to a performer. Bent hooks, missing skirt strands, ragged or bulky skirts, or even a tweaked cable on the hook-set can all affect the way a lure will run.
Read Next: Leave nothing to chance with these bulletproof lure rigging techniques from Hawaii’s Capt. Bryan Toney.
Your preferred hook rig will also decide which lure shape to pull. The ever-popular single-hook rig pairs well with belly- or keel-weighted lures. Knowing if your lure is weighted is simple: Set an unskirted lure head on a flat, level surface, and see if it rights itself when rolled to one side or the other. Lures without belly weights can be run with single hooks—just know they will sometimes go lazy on you—where a keel-weighted lure will offer a more consistent track.
Always choose a hook that is appropriate for the lure; generally, 8/0 to 11/0 hooks cover most lure sizes.
Spending time on the water, being ultra-observant, and experimenting with different shapes and hook-sets are the best ways to understand the simple but complex art of lure-fishing. Have fun with it, try new things, and watch the marlin bite—the fish will tell you if you’ve got something they like out there. We have a saying here in Kona: All lures end up on the bottom, eventually.
