Special delivery: Sign up for the free Marlin email newsletter. Subscribe to Marlin magazine and get a year of highly collectible, keepsake editions – plus access to the digital edition and archives.
After spending decades in the charter business with a wide variety of captains, mates and customers, I’ve met a few tough cookies. By far the toughest critic on the water is not in your cockpit, but the billfish that’s staring a hole through your bait. That fish has literally made a living making good decisions.
Over the years, I’ve come to believe that the most important thing between you and the fish is the quality of your bait. Among a few other important factors, quality live or dead bait can make the difference between being a winner and a runner-up.
I’m going to try to take you through a few tips that might make the entire process easier, from catching to storing, rigging and presenting those baits.
Getting Started with Catching Live Bait
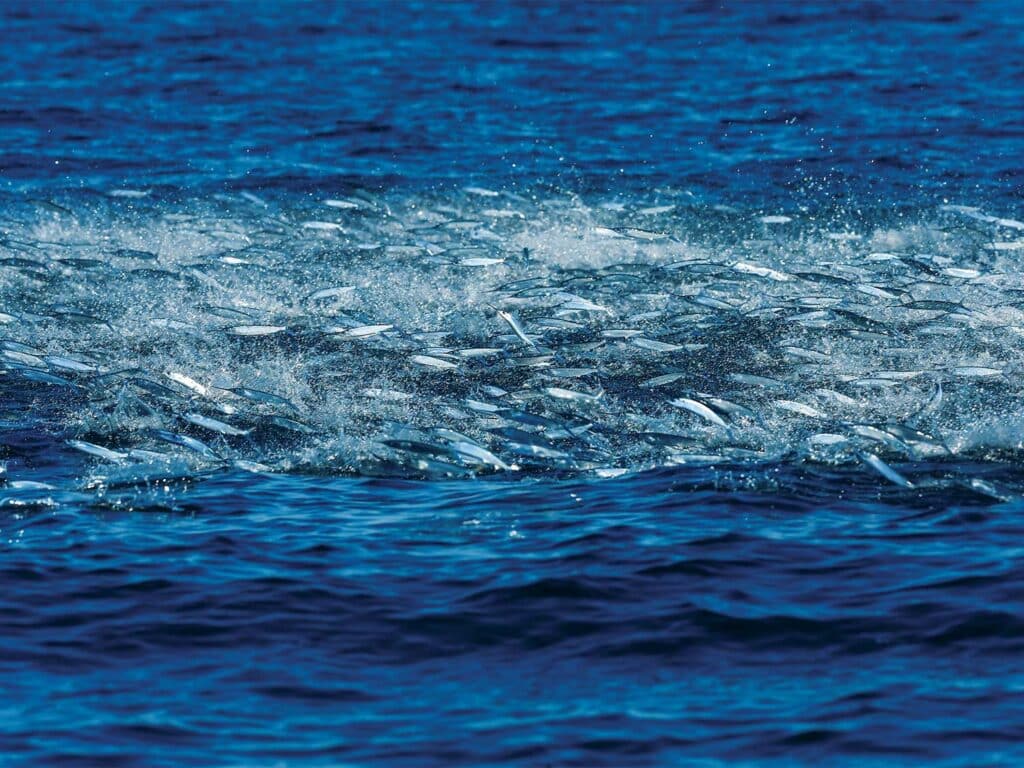
The process of catching bait could take up an entire book in itself, but here are a few tips that will give you good results.
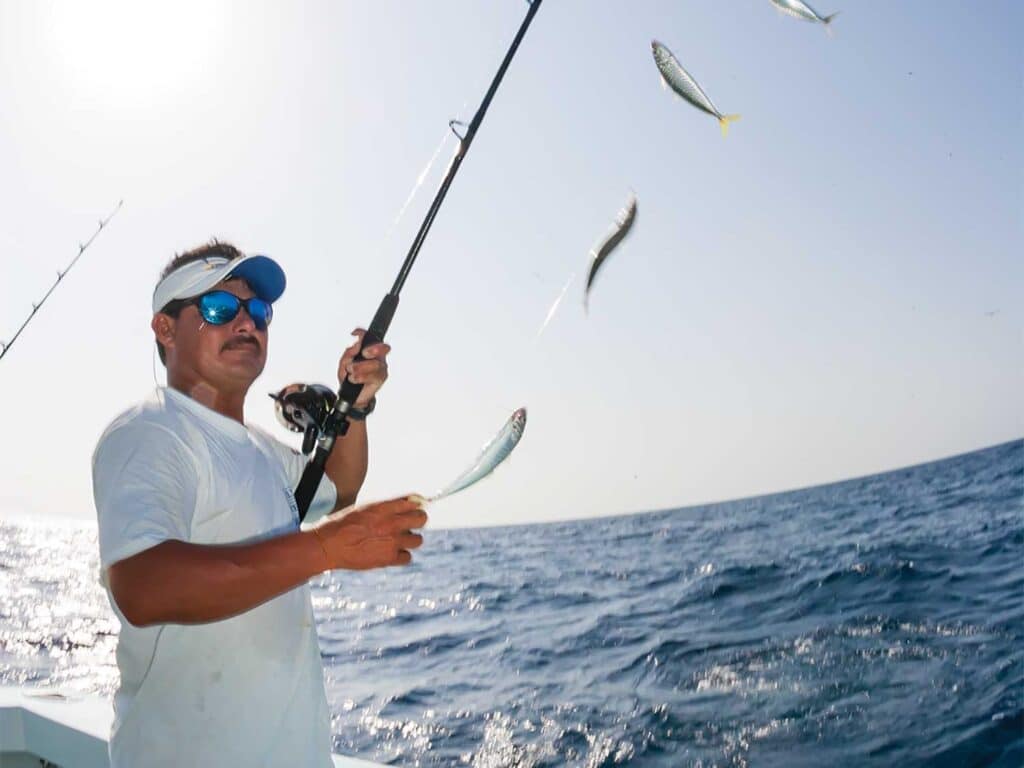
If you’re going to use a Sabiki, make sure there’s adequate weight on the bottom of the rig (1 to 3 ounces for small baits and 4 to 32 ounces for larger baits), especially since the goal is catching multiple baits.
When letting the rig down to the bottom, you want to stop that rig every couple of seconds just to see if there’s a bait on it. They routinely bite the rig as it is falling. If you continue to let line out without stopping it frequently, baits will bite your rig and turn it into a big knot. Bottom line: Having adequate weight and frequent pressure on the rig as you’re letting it out will help eliminate that. Of course, if you ignore that advice, it only helps me sell more bait rigs!
Once you have a bait hooked, wind slowly and jig softly as you bring it to the boat, and many times you will load up your rig with more baits. Once the rig nears the surface, slow down your winding even more, and lift the baits slowly out of the water. Lift the rod vertically so that you can grab the lead at the bottom of the rig. Once you have the lead in your hand, stretch the rig tight against the tip and hold the rod horizontally over the livewell so that if the baits fall off before they can be hooked, hopefully they fall into the well, rather than on the deck or back in the water.

If the bait hits the deck, it’s probably not worthy of putting in the bait pen at the dock. For us, the ones that hit the deck typically go into a separate well that we call “daybaits,” as they probably won’t survive beyond a few days in the pen. The ones that are dropped into the well using a dehooker without hitting the well or the floor are the ones that should have the highest chance of survival.
When transferring those unscathed baits to the bait pen, we use a Wet Net, which holds water in the bottom of the net so that less slime removal occurs. Those baits should start feeding within three to five days on krill or fish roe. These are the best foods to get them to start eating in captivity. Once they are eating, you can move them over to chum, dried fish food or fish flakes. Feeding them in captivity seems to thicken the slime coat, resulting in significantly stronger baits.
If you don’t have a Wet Net, you would want to move the baits one at a time from your livewell to the bait pen in a fine mesh net, just so they are not rubbing against each other and losing slime. Another advantage of a Wet Net is that you can move the baits more than one at a time since they are surrounded by water; because they stay calmer during the transfer, it is generally easier on the baits. When I’m taking baits out of the pen to go fishing, it’s not as critical to use the Wet Net, especially if they have been in the pen longer than a week and have been feeding.
Best Time of Day to Use Live Baits
I like to fish with a variety of species of bait. Larger baits such as goggle-eyes and blue runners are good for the long and middle positions on the kite, especially on windy days, when we need a little more weight to counteract the high winds. Sardines, herring, pilchards and cigar minnows are a good complement for bait positions closer to the boat and for flat lines and mid-depth baits. I like using a phone wire as a trip wire on our spinning rods for my flat lines. It is simple and foolproof.
How to Present Live Baits
Many people like the kite bait to be right at the surface splashing, but I typically fish the bait a little bit lower, trimming up shallow when a fish is approaching the bait. If you have ever watched a bird dog working in the field, working left to right, doing its job, that’s the best way I can describe how I like my bait to work. However, that doesn’t happen when a bait is pulled up tight to the surface. I think it just makes a better presentation, although you do need to pay attention when a fish approaches so that it does not get bill wrapped. It’s not mandatory, just an opinion. I’ve seen plenty of fish caught both ways.
Go Time
The cork gives you a lot of insight as to what’s happening with the bait. Short bounces are usually a sign that the bait is just getting nervous. A hard dip of the cork usually indicates a bite. Learning to pay attention to these things will make you a more effective angler.
If it is a clean bite, a shorter drop back than most people think is all that’s needed.
Teasing a sailfish for a fly rod bite teaches you how quickly they can eat the bait. The question is, was it a clean bite?
The reason that matters is that sometimes when you drop too long, I think your catch ratio reduces. Again, just an observation. One of the most critical moments when winding down on a fish while kite-fishing is the line releasing from the clip properly. If that’s not happening on a regular basis, reduce the release pressure on your clip or try a different type. I designed the M2 clip specifically to solve this problem for kite-fishing, and to reduce the weight that the clips place on the kite line.
Because the M2 clip is long and skinny, the jaw of the clip faces the fish, no matter what direction it swims away after eating the bait. This helps the clip release more consistently. When the clip does not release, you have to quickly bring the kite in and release it manually. Not the best scenario.
One of the biggest advantages of a kite is that you can continue fishing the other baits, and it allows you to lift baits over the line of the fish you’re fighting if it is about to tangle. Kites even allow you to back up on the spread of baits if the wind is strong enough to support the other baits in reverse. I can’t tell you how many doubles and triples we caught just because the kite presentation let us continue to fish.
How to Handle Your Catch at the Boat
I’m a really big fan of chasing fish going forward. Not only can you maneuver much easier, but it takes that fish out of your spread of baits whether you are kite-fishing or flat lining, allowing you to continue hooking other fish. Obviously you need to pay attention so you don’t run the line over on the fish you’re fighting, but keeping a little bit of an angle to the fish off the side of the boat gives you that opportunity to steer clear.
Keeping the boat moving forward also represents a safety consideration. A friend of mine got a bill from the elbow to the armpit one time by taking the boat out of gear and trying to bill the fish from a dead boat—not good!
Even though things can still go wrong if you’re moving with the fish, it greatly reduces the chance of an accident. This procedure also helps getting a good gaff shot on a meat fish. Keeping the boat moving with the fish, pacing it at the speed it wants to swim, is the thing to focus on the most.

What to Know When Getting the Picture
Less is more! I totally understand the significance of getting a photo with the fish, but the less fish handling, the better. In the US, the fish has to stay in contact with the water to legally be considered a released fish, so make sure to keep them wet.
One little trick to making things go smoothly if you’re going to grab a bill is to position your thumb toward the tip of the bill when you grab it. That way, when the boat comes out of gear, your hand is turned right side up, and you can use the backs of your elbows against the hull to hold him off the side of the boat for the few moments that you will hold him. Obviously not handling the fish is best, but I’m not going to criticize somebody for wanting a picture.
Final Thoughts
Accomplishing everything we just covered takes a lot of time and effort, but it’s worth it! I truly believe these nuances have been crucial to my success on the water. Remember, enjoy the ones that make you smile, spend time with good people, and fill your head with good memories!
About the Author
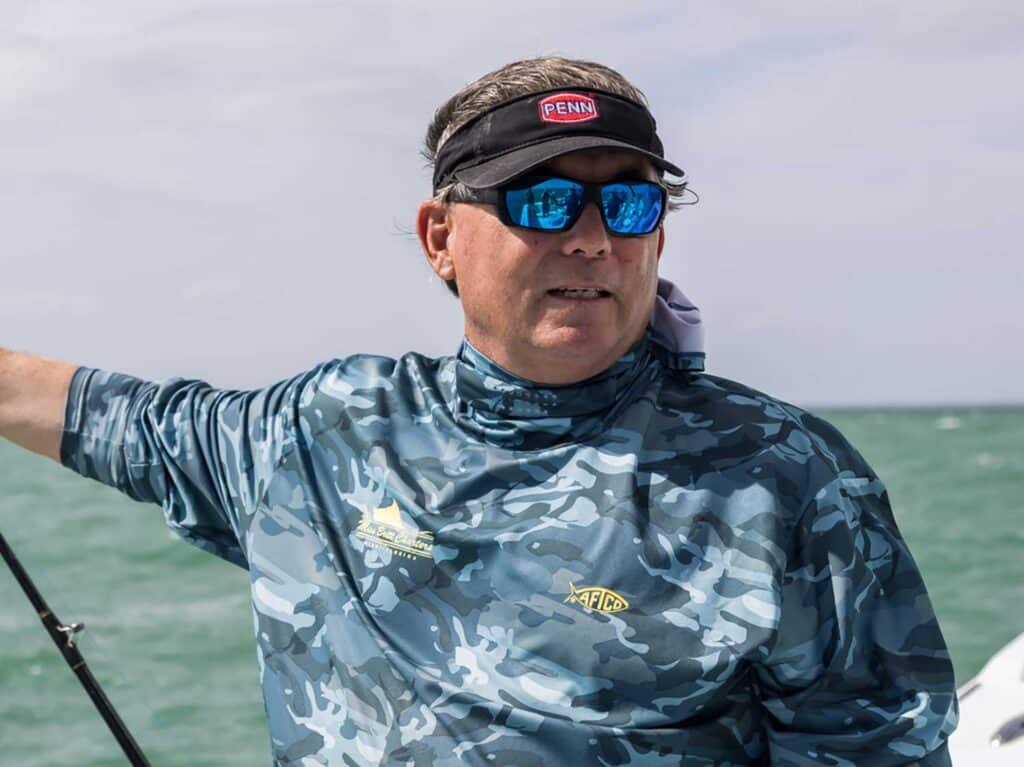
Capt. Ray Rosher is a third-generation Miami native who has made his living on the water. For the past four decades, Rosher has built a reputation as one of the world’s top offshore captains, amassing countless tournament wins and industry accolades. Rosher owns and operates the Miss Britt charter fleet in Miami’s Grove Harbour and is the founder of R&R Tackle.


